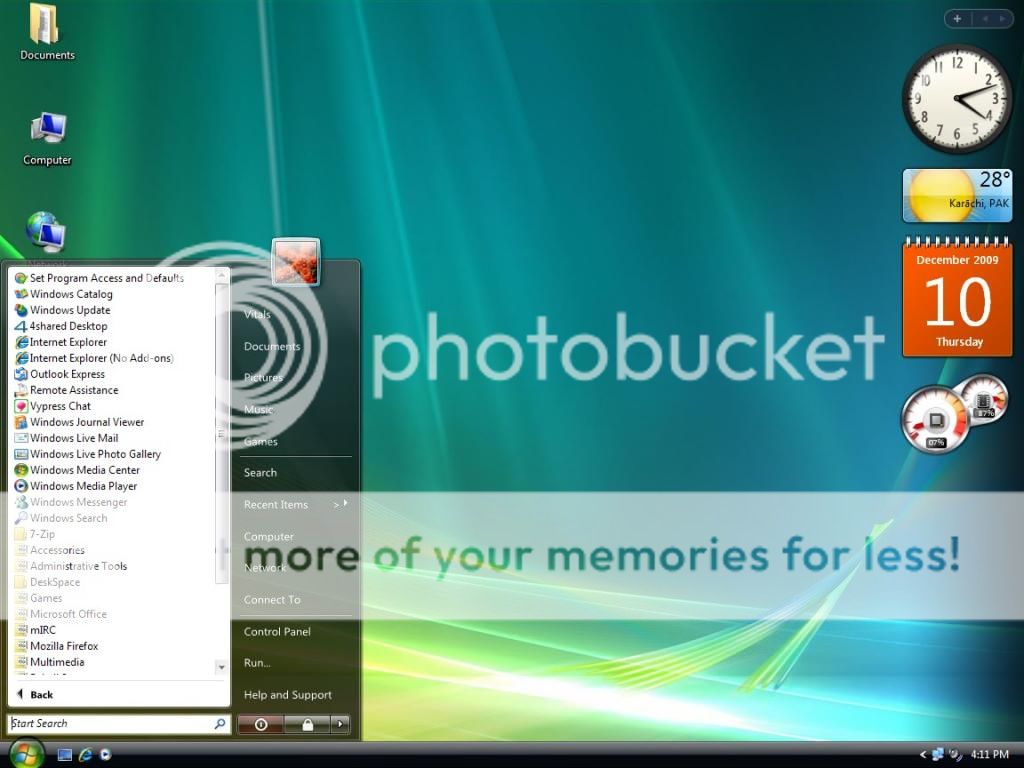
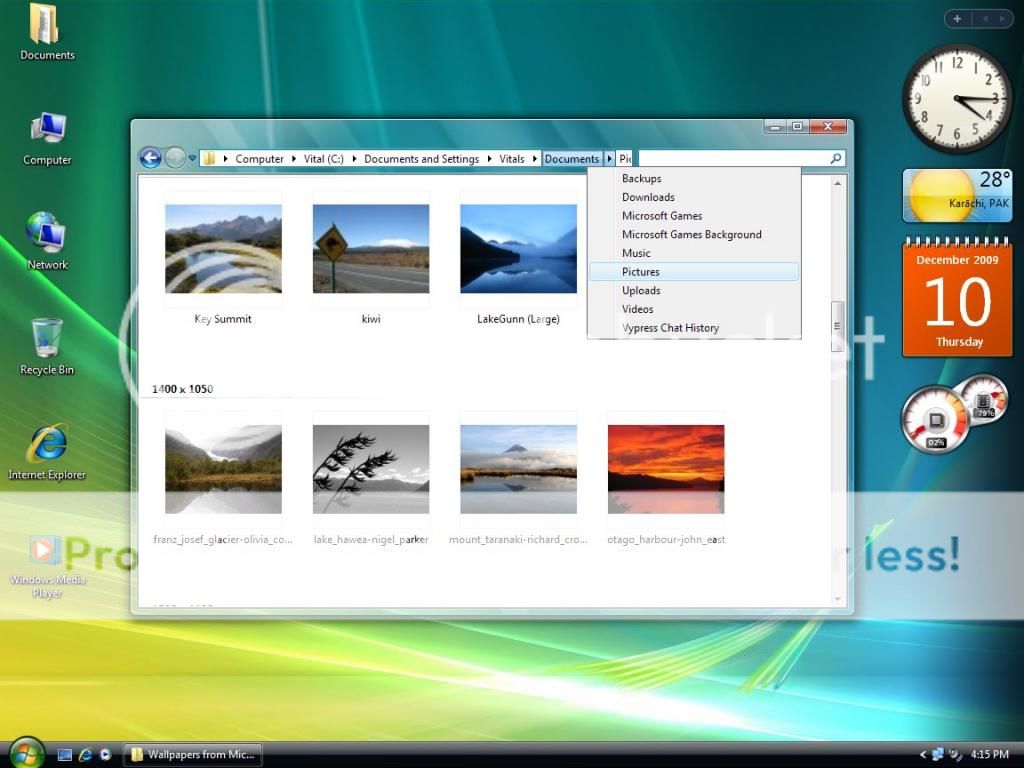
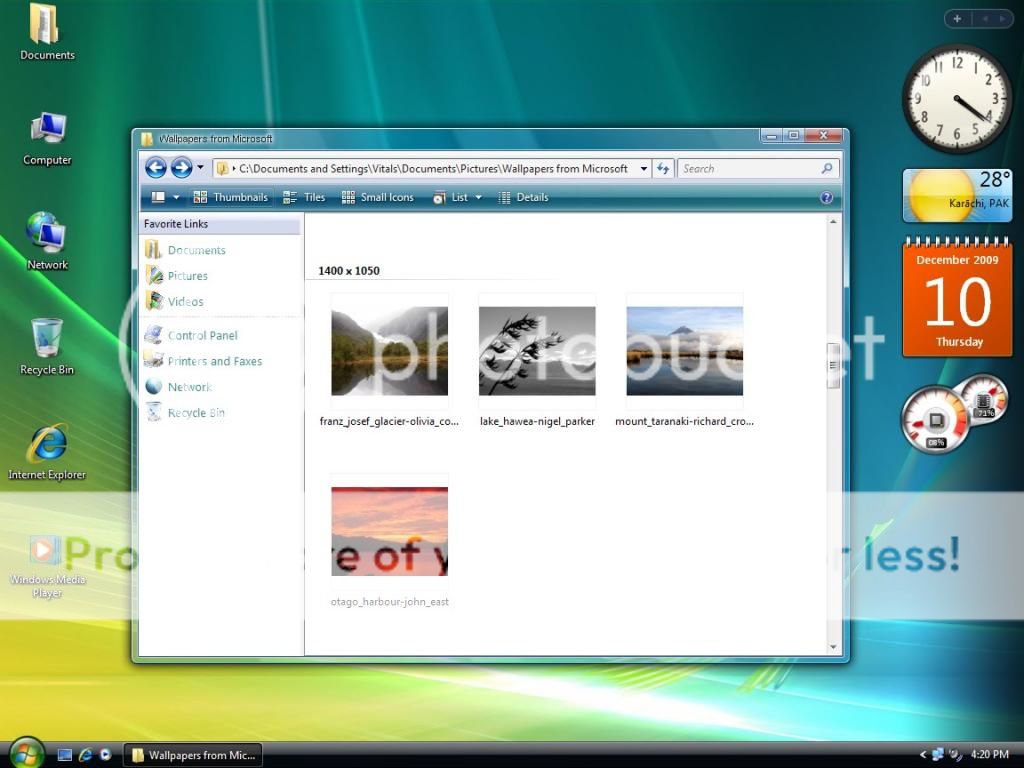
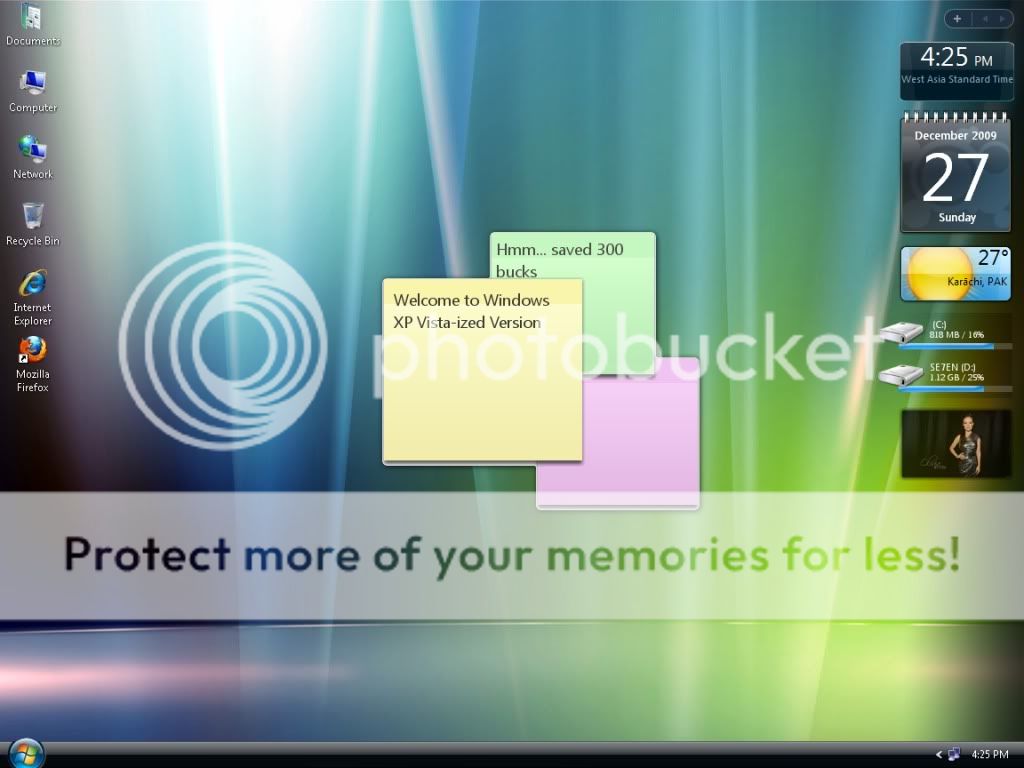
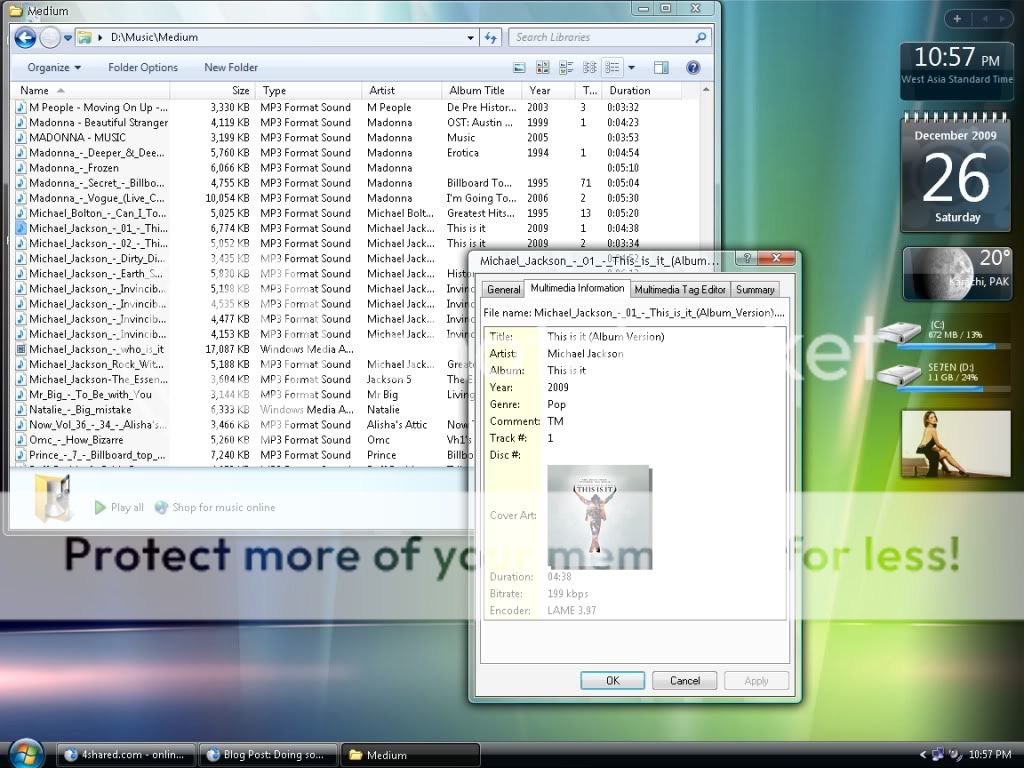
At last I have created a blog after so many requests from my YouTube subscribers and viewers. This blog is dedicated to "How to install Windows Vista theme, interface and applications on Windows XP Professional Edition". The blog is divided into 4 parts: 1st part is fully dedicated to how to change the desktop appearance of XP to Vista and to installation of some basic Vista applications; 2nd part is dedicated to installation of some Vista applications with Aero Glass Effects, for e.g. Media Player, Photo Gallery, Internet Explorer, etc.; 3rd part is wholly dedicated to installation of Windows Media Center on XP Professional Edition; and 4th part is dedicated to Extra Tools.
Please also visit my page on YouTube for many other things, such as Google Chrome and Windows 7 theme on XP, Linux, etc.
Before going further into this post, please read "VERY IMPORTANT NOTE" at the end of this post.
Don't forget to give your precious comments and suggestions at the end of this page.
Thanks.
ZNPower
Get the bundle download from here. Size: 475 MB
You will be needed the following file archivers for unzipping the folders:
ZNPower
Get the bundle download from here. Size: 475 MB
You will be needed the following file archivers for unzipping the folders:
- WinRar (for unzipping RAR files)
- 7-Zip (for unzipping 7Z files)
- B1 Archiver (for unzipping B1 files)
My YouTube Channel: youtube.com/user/znpower
My DeviantArt Page: xulfikar.deviantart.comWINDOWS VISTA VISUAL STYLER FOR XP, VISTART, VIORB AND WINDOWS SIDEBAR
Windows Vista Visual Styler for XP
To apply Windows Vista Visual Styler on XP you will be needed UXTheme Patcher. First run UXTheme Patcher, restart your window and then apply Visual Styler. Download Visual Styler and UXTheme Patcher from here.
Instructions:
● Run UXTheme Patcher, Windows may ask you to insert the XP CD, but DO NOT INSERT THE ORIGINAL XP CD, OTHERWISE, UXTHEME PATCHER WILL FAIL TO PATCH THE UXTHEME.DLL, after patching, restart your windows;● Copy Vista theme files in "C:\Windows\Resources\Themes" folder; and
● Then apply Vista visual styler.
ViStart
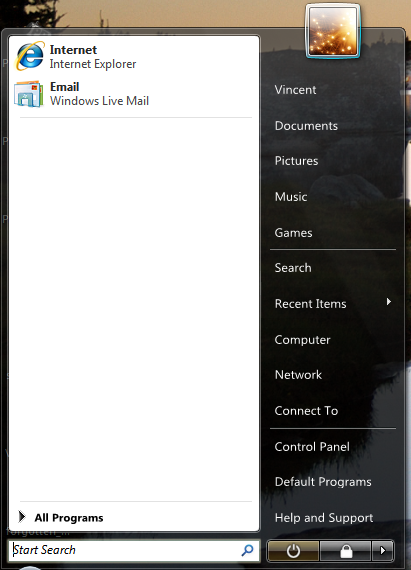
If you want an exact look of Windows Vista's transparent Start Menu, you have to install a 3rd-party software, ViStart. It changes the XP look of Start Menu to Vista. Download it from here.
ViOrbIf you want an exact look of Windows Vista's transparent Start Menu, you have to install a 3rd-party software, ViStart. It changes the XP look of Start Menu to Vista. Download it from here.
If you want an exact look of Windows Vista Start Button with glowing effect in XP, you have to install ViOrb. Download it from here.
Windows Vista has a very essential feature that changes the usefulness of desktop to computer users, i.e., Windows Sidebar. For installing Microsoft's original Windows Sidebar on XP machine, you will be required to install Alky and IE 8 before installing Sidebar.
Instructions:
● Install IE 8 firstly,
● Then install WMP 11
● Then install Alky, and
● Install Windows Sidebar.
If you want to install Gadget Extractor, you will be needed .NET Framework 2.0 to install firstly. Through Gadget Extractor, you can download and install thousands of interesting Windows Sidebar Gadgets. This is optional, but remember that .NET Framework heavily consumes your computer resources. Make sure that you have a PC with higher specifications such as 1 GB RAM, 128 AGP, etc.● Then install WMP 11
● Then install Alky, and
● Install Windows Sidebar.
WINDOWS VISTA EXPLORER ON XP
For changing the looks of XP explorer to that of Vista, you have three options:ViSplore
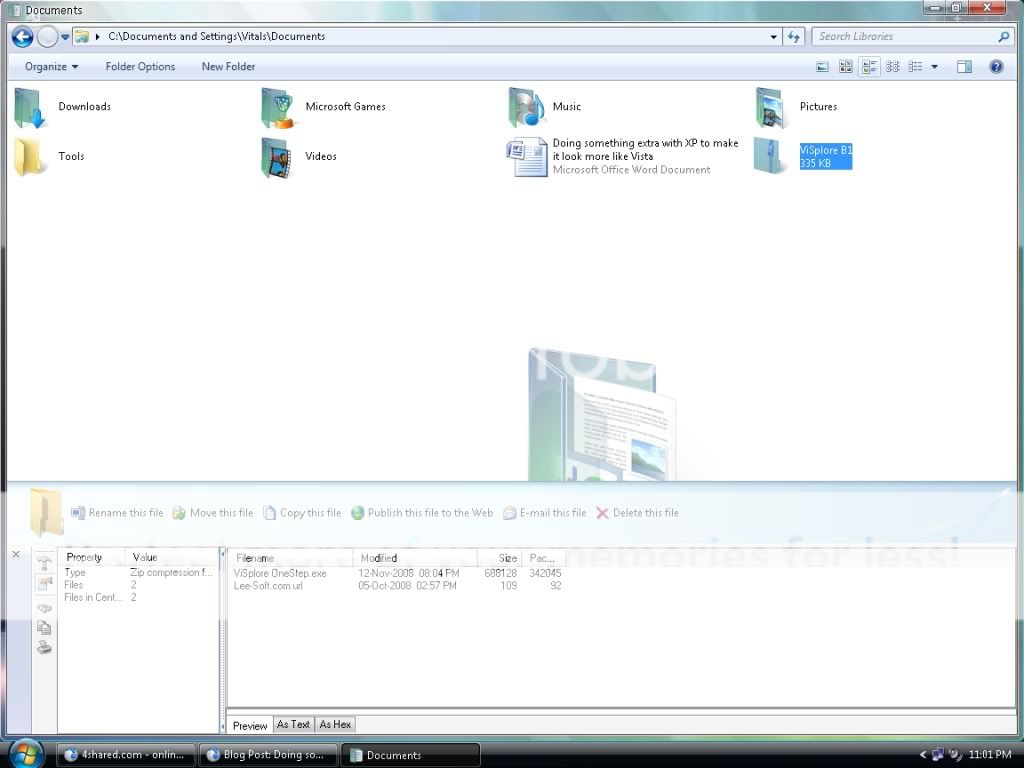
ViSplore, a 3rd-party software, which gives the Aero Glass Effect on your explorer window. But it does not work with My Computer, My Network Places and Recycle Bin. You have to rely on native XP's explorer for opening these three windows.
Download ViSplore.
Styler Toolbar with Findexer and True Transparency
Styler Toolbar changes the looks of the toolbar of Windows XP Explorer to that of Windows Vista. But it does not give Glass Effect, so you have to rely on True Transparency. The latest version of True Transparency not only includes the Aero Glass Effect of opened windows but also includes the features of Aero Snap and Aero Shake, which are essential features of Windows 7. The left side panel of Windows Vista Explorer includes the favorite places in your computer, e.g., Documents, Pictures, Music, etc., Findexer with drag n drop feature made it possible for Windows XP users.
● Download Styler Toolbar● Download Findexer
● Download True Transparency
QTTabBar with Findexer and True Transparency
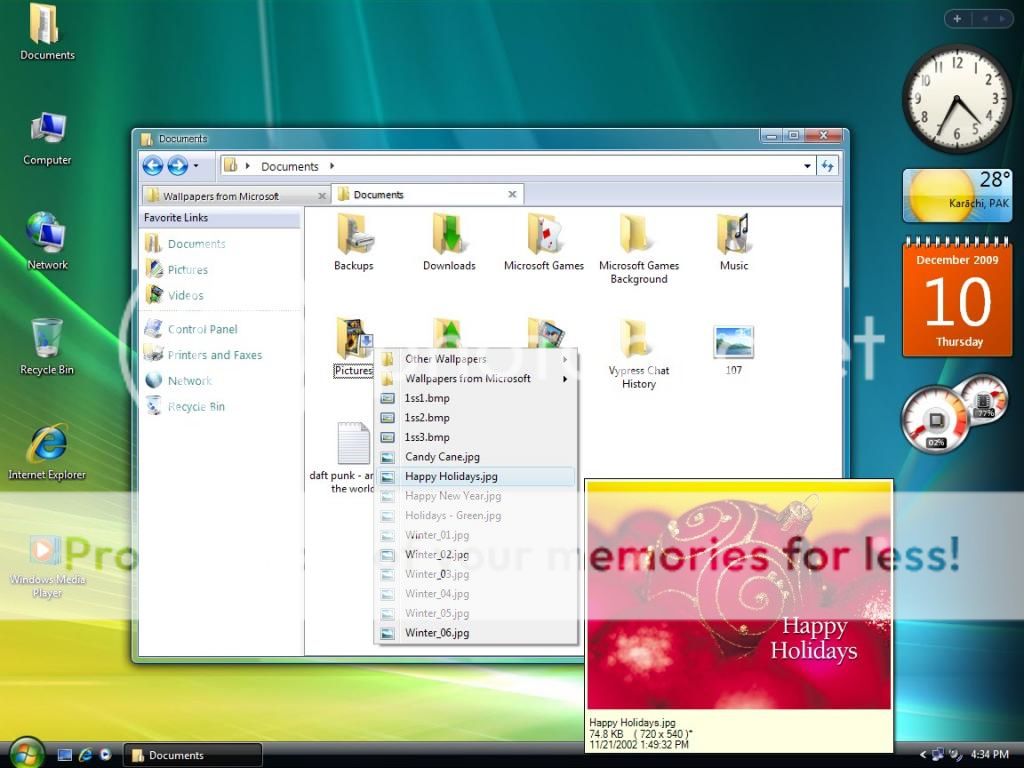
QTTabBar includes the features of Tab Browsing, Breadcrumb Address Bar and Picture Tool Tips. But you have to install Microsoft .NET Framework 2.0 before installing QTTabBar, which is not advisable for computers with lower specifications.
● Download QTTabBar● Download QTAddressBar
● Download .NET Framework 2.0
● Download Findexer
● Download True Transparency
COPYING/MOVING/DELETING PROGRESS & REPLACING DIALOGS AND INTEGRATED VISTA ICONS IN XP
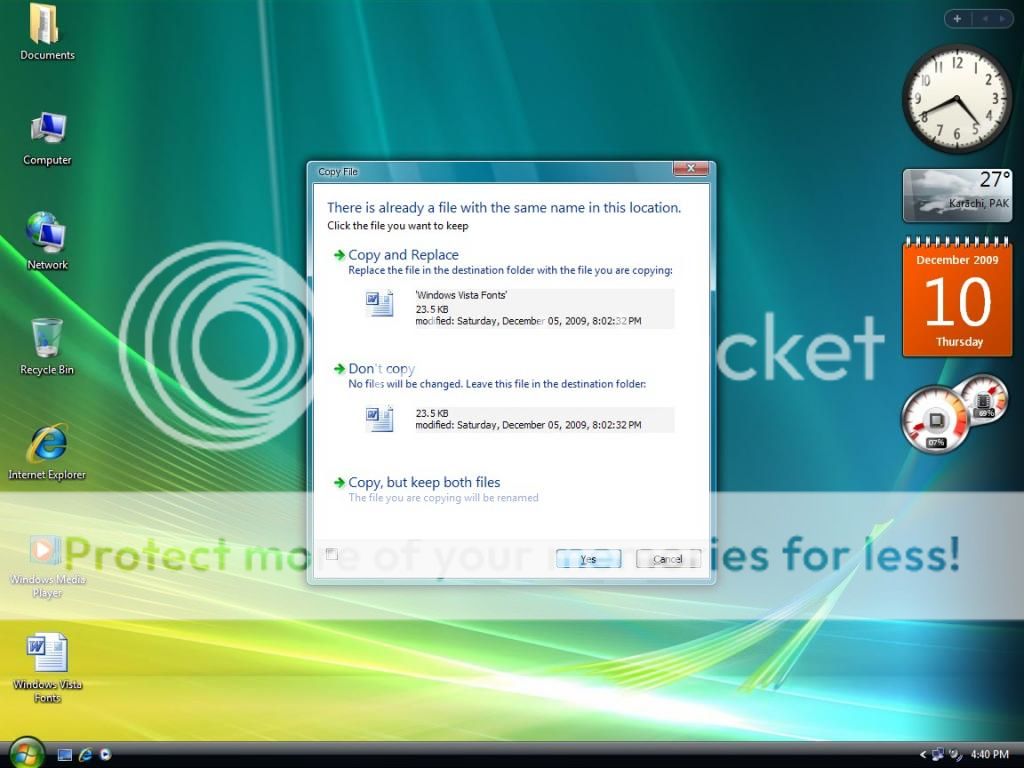
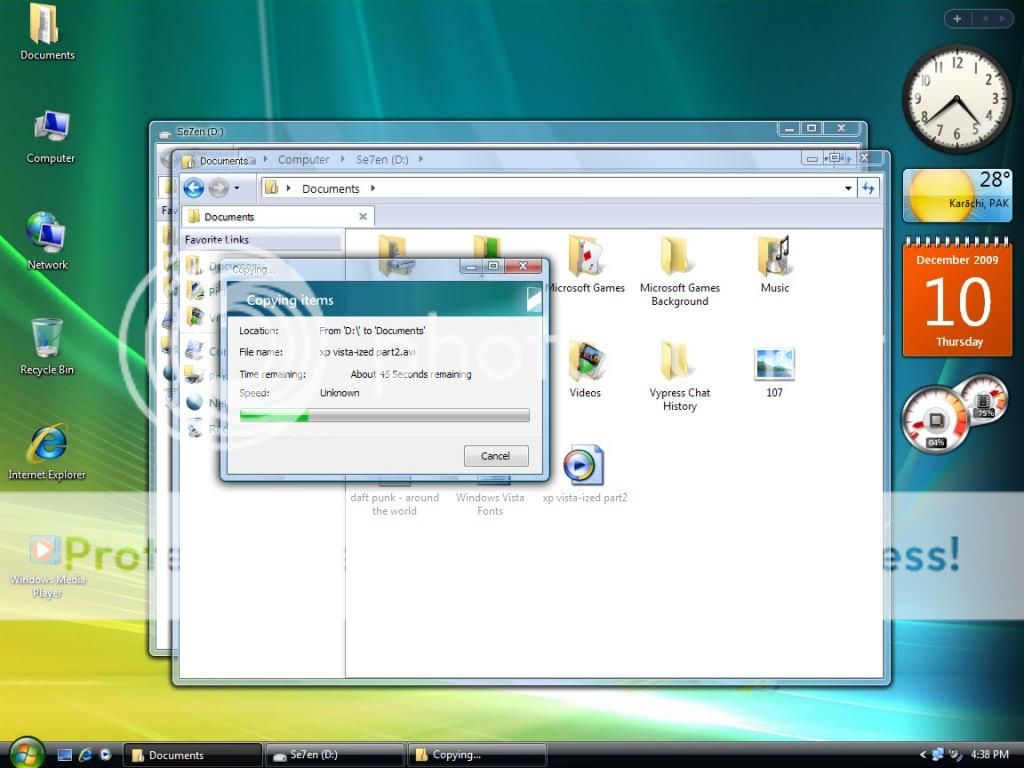
To change the looks of Windows XP's Copying/Moving/Deleting Progress and Replacing Dialogs, you will be needed to replace these patched system files with the original files:
● explorer.exe (link fixed 15/9/2015)
By replacing these patched files with the existing original XP files, the entire OS environment is changed, namely, folder icons, program icons, my computer icon, network neighborhood icon, right click taskbar properties, about windows dialog, copying/moving/deleting progress animations, replacing dialogs, etc.
But BE CAREFUL, MAKE SURE THAT YOU HAVE BACKUP ALL THE ORIGINAL FILES IN A SAFE PLACE ON HARD DRIVE BEFORE REPLACING. To replace these patched files with the original ones you will be required to download Replacer and Windows File Protection Switcher.
How to replace?Windows File Protection (WFP) Switcher
Run WFP Switcher. Window may give file protection error, ignore it. DO NOT INSERT YOUR ORIGINAL XP CD, OTHERWISE, WFP SWITCHING CANNOT BE EXECUTED. After finishing with WFP Switch, restart your computer.
Replacer
"mydocs.dll"I. Run Replacer, a command prompt window will be open;
II. Drag and drop your original "mydocs.dll" from "C:\Windows\system32" folder on Replacer's open window and press enter;
III. Then drag and drop patched "mydocs.dll" on Replacer open window and press enter;
IV. Replacer will ask you whether to replace the file. Press Y and enter;
V. Replacer will take a few second and your file will be replaced.
"shell32.dll"
II. Drag and drop your original "shell32.dll" from "C:\Windows\system32" folder on Replacer's open window and press enter;
III. Then drag and drop patched "shell32.dll" on Replacer open window and press enter;
IV. Replacer will ask you whether to replace the file. Press Y and enter;
V. Replacer will take a few second and your file will be replaced.
"explorer.exe"
I. Close all the running applications on Windows;
II. Right click taskbar and click Task Manager;
III. Click Processes, then right click "explorer.exe" and click End Process. All the icons and taskbar and even sidebar will be gone;
IV. Now click File in Task Manager and click New Process;
V. Click Browse;
VI. Now go to the folder where the patched "explorer.exe" is located and copy it to "C:\Windows" folder. Window will ask you whether to replace the existing file. Click Yes. Thus in this way, you can easily replace patched "explorer.exe" with the original "explorer.exe" without even using Replacer. Make sure that "explorer.exe" is not running, otherwise, it will not be replaced;
VII. Now restart your computer;
VIII. You may notice that some icons have changed to Vista icons and some do not. Create a new user account in Control Panel => User Accounts. Logoff your present User Account and then Logon the newly created User Account. You will notice that all the old-looking XP icons have been change to Vista icons.
If you have any problem in running Replacer, see my video on how to use Replacer to replace original files with replacement files.
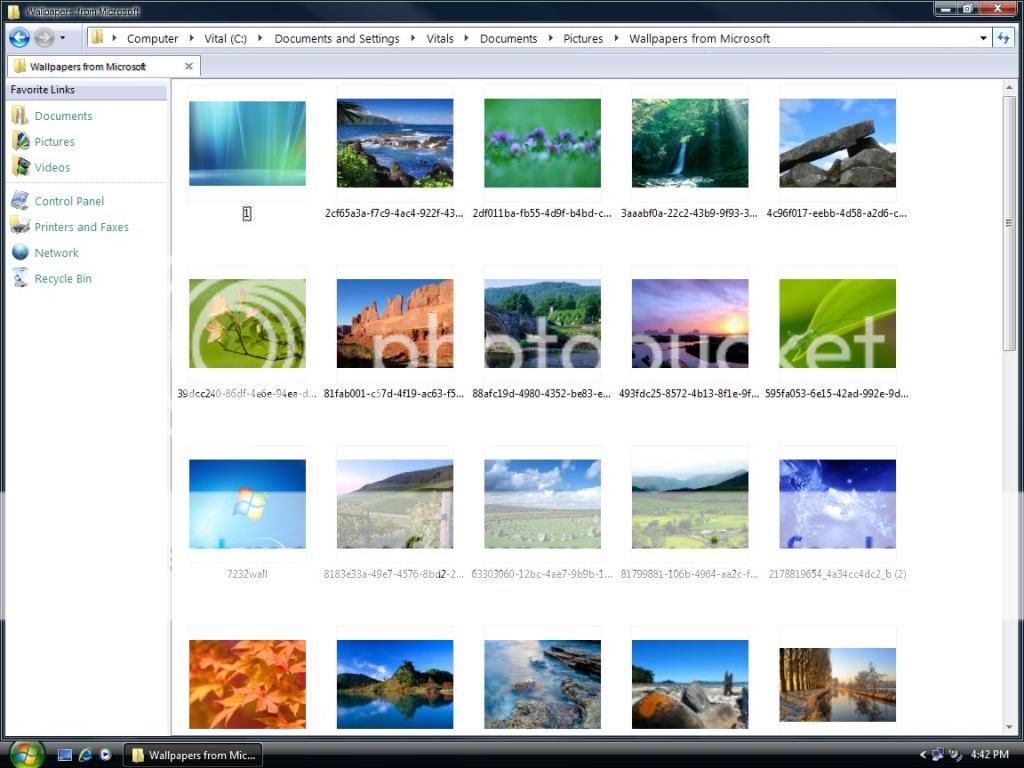
These are original wallpapers from Microsoft. Click here. (fixed 15/9/2015)
Copy all the wallpapers to "C:\Windows\Web\Wallpaper"
WINDOWS VISTA LIKE PICTURE VIEWER
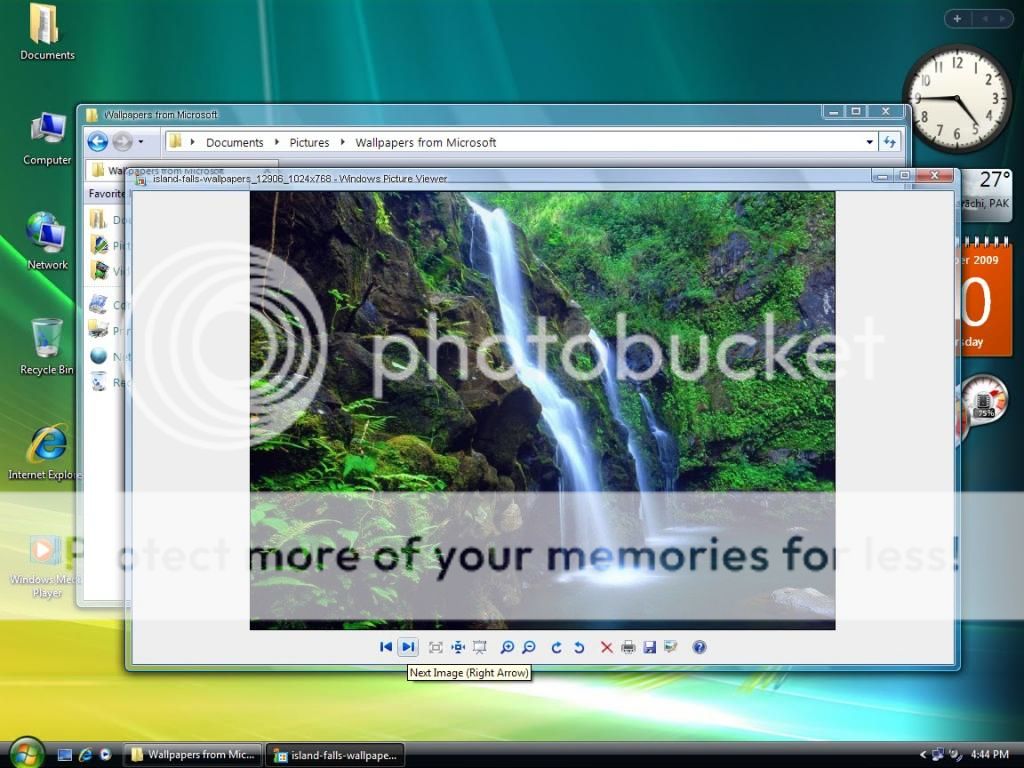
Windows Vista like Picture Viewer in Windows XP. Download link and instructions can be found here.
Windows Vista like Picture Viewer in Windows XP. Download link and instructions can be found here.
FLIP 3D aka WINFLIP
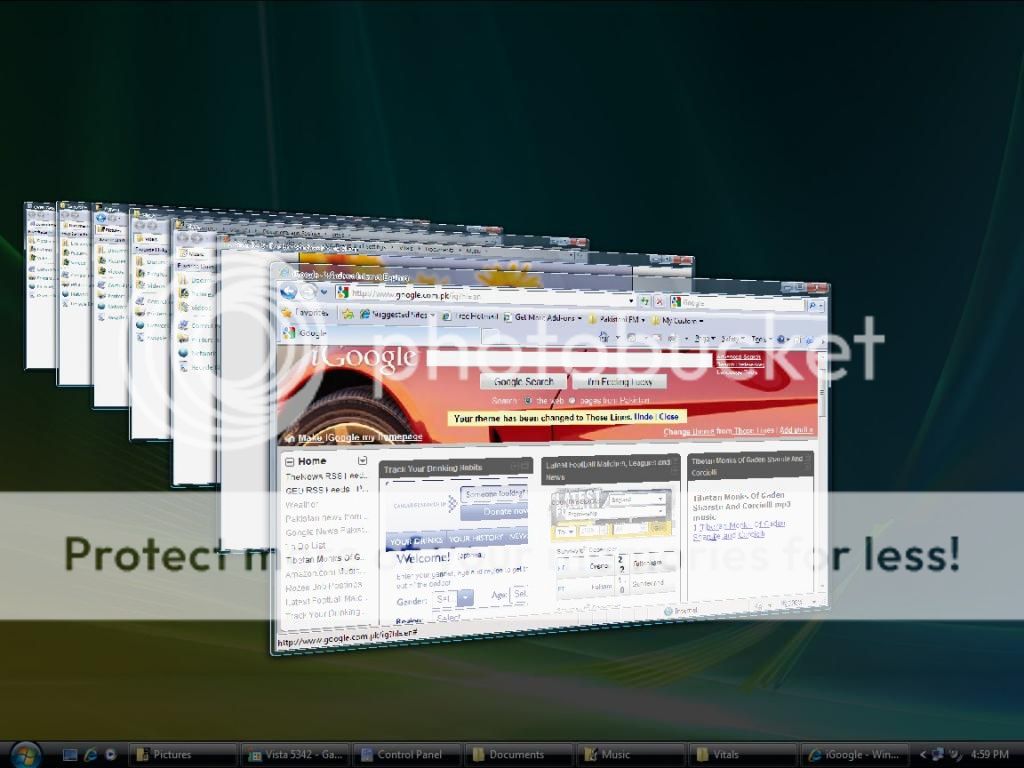
Flip 3D or WinFlip is one of the famous features of Windows Vista. It allows you to flip or switch between different windows, while WinFlip dynamically displays all open windows in a 3-Dimensional view. To download, click here.
SCREENSAVERS
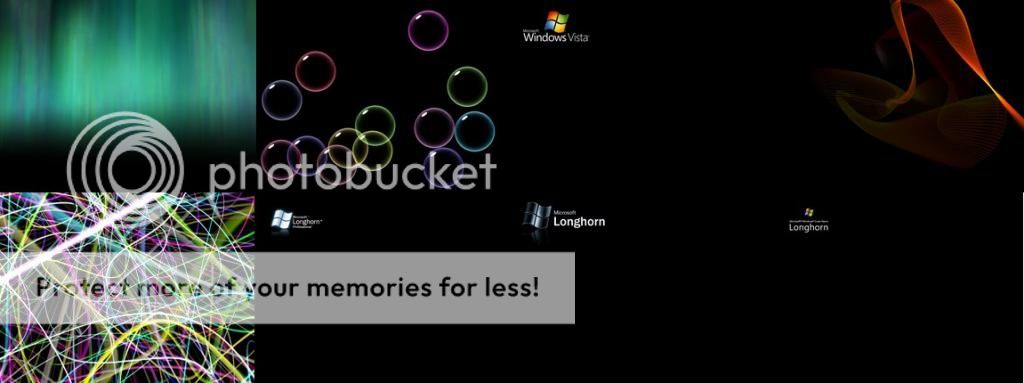
Original Vista Screensavers. Click here. (fixed 15/9/2015)
Unzip the folders and copy all the screensavers to "C:\Windows\system32" folder.
Original Vista Screensavers. Click here. (fixed 15/9/2015)
Unzip the folders and copy all the screensavers to "C:\Windows\system32" folder.
FONTS
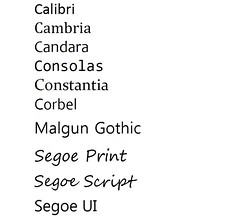
Original Vista Fonts. Download compressed folder containing all the Vista fonts from here. (fixed 15/9/2015)
Unzip the folder and copy all the fonts to "C:\Windows\Fonts" folder.
CURSORS
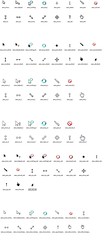
Vista Mouse Cursors. Click here (fixed 14/9/2015).
Unzip the folders and copy all the cursors to "C:\Windows\Cursors" folder.
SOUNDS
Vista Sounds. Click here. (fixed 14/9/2015)Unzip the folders and copy all the sound files to "C:\Windows\Media" folder.
=========================================================================
Part 2
VISTA WELCOME CENTER
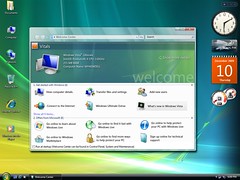
In Windows Vista, after setup or first time startup you will see the Welcome Center. It pulls all the tasks you'll most likely want to complete when you set up your computer into a single location. But for XP, this program is just a clone, it can't do anything for you, except displaying the information about your computer hardware. And, of course, it has the Aero Glass Effect. Download it from here.
VISTA SYSTEM PROPERTIES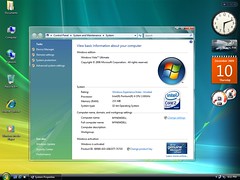
This is a clone of Vista System Properties with Aero Glass Effect for Windows XP. You can right-click your Computer Properties to open this window. Click here for download and installation instructions.
USE VISPLORE AS INTERNET EXPLORER
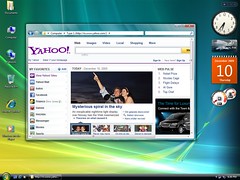
Windows XP has no built-in Aero Glass Effect for Explorer and Internet Explorer. For creating Aero Glass Effect on Explorer you have to use either ViSplore or True Transparency. But for Internet Explorer, only True Transparency can be helpful for creating Glass Effect. TT is not a perfect match to the Aero Glass Effect of Windows Vista. Only ViSplore has the final solution for this. You can use instead ViSplore as Internet Explorer. ViSplore will use your Windows Internet Explorer without even opening it. For this, open ViSplore and maximize it, so that the empty space at the right-hand side of the Breadcrumb Address Bar can be visible. Now click on the empty space of the Address bar, you will see that the present directory location will be highlighted. Now type any web address in the manner as you usually type in IE, ViSplore will open the website for you. For demo play the Part 2 of Windows Vista Interface, Applications & Theme on XP.
VISTA MEDIA PLAYER
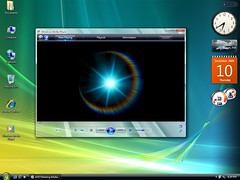
Again, Windows XP has no built-in Aero Glass Effect feature, therefore, even the latest Windows Media Player 11 creates no Glass Effect on XP. For getting exact match of Vista Media Player, you have to run this clone, which is quite close to Vista Media Player. IT'S NOT MICROSOFT'S ORIGINAL MEDIA PLAYER, SO DON'T REPLACE IT WITH THE ORIGINAL.
VISTA PHOTO GALLERY
This is another Vista application clone with Aero Glass Effect. It can slideshow all the pictures in Pictures folders only. Download it from here.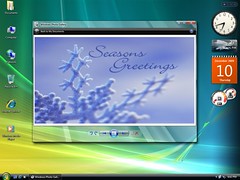
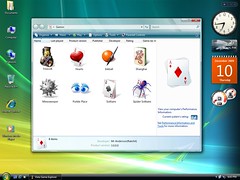
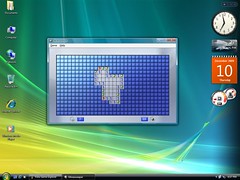
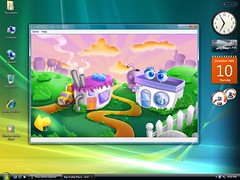
VISTA GAMES EXPLORER
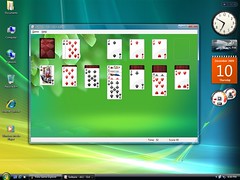
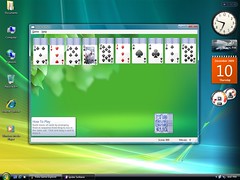
Vista Games Explorer displays all the Microsoft Games at one place. You can download it from here. But I would advise you to download Vista Games first.
Vista Games Explorer displays all the Microsoft Games at one place. You can download it from here. But I would advise you to download Vista Games first.
VISTA GAMES
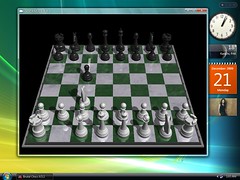
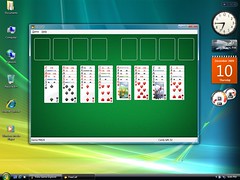
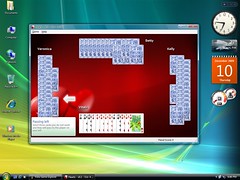
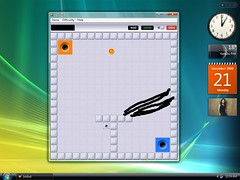
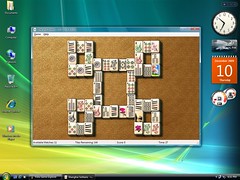
Download the following Vista Games, unzip the folder and simply double click the program file, the installer will automatically copy all the necessary files to "C:\Program Files\Microsoft Games" folder. Now you can safely remove the downloaded files: (All links fixed 15/9/2015)
Download the following Vista Games, unzip the folder and simply double click the program file, the installer will automatically copy all the necessary files to "C:\Program Files\Microsoft Games" folder. Now you can safely remove the downloaded files: (All links fixed 15/9/2015)
● Freecell
● Hearts
● Shanghai
● Inkball (For installing Inkball, download the zipped folder, unzip it, and then copy "inkball" folder to "C:\Program Files\Microsoft Games" folder. Now it will also work with Vista Games Explorer.)
● Chess (Not advisable for computers with lower specifications)
● Hold 'Em See also: (How to install Vista's Hold 'Em on Windows 7)
● Hold 'Em See also: (How to install Vista's Hold 'Em on Windows 7)

VISTA MOVIE MAKER
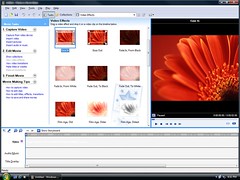
Download Vista Movie Maker and installation instructions from here.
VISTA CALCULATOR, NOTEPAD AND PAINT
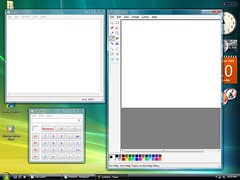
Download the zipped folder containing Windows Vista Calculator, Notepad (with status bar) and MS Paint from here. (fixed 15/9/2015)
Unzip the folder and replace the files with the following originals using Replacer.
● Original "calc.exe" is located in "C:\Windows\system32".
● Original "notepad.exe" is located in "C:\Windows" and "C:\Windows\system32".
● Original "mspaint.exe" is located in "C:\Windows\system32".
Note: Make sure that you have already backup the original files.● Original "notepad.exe" is located in "C:\Windows" and "C:\Windows\system32".
● Original "mspaint.exe" is located in "C:\Windows\system32".
If you have any problem in running Replacer, see my video on how to use Replacer to replace original files with replacement files.
If you want to install Windows Vista's Sticky Notes for XP you have to install the following before:
● IE 8
If you don't want these things to jumble your computer, install Efficient Sticky Notes, a light-weighted sticky notes application for windows. This is the perfect clone of Windows Vista's Sticky Notes and your computer's resources are not much utilized as well.SNIPPING TOOL
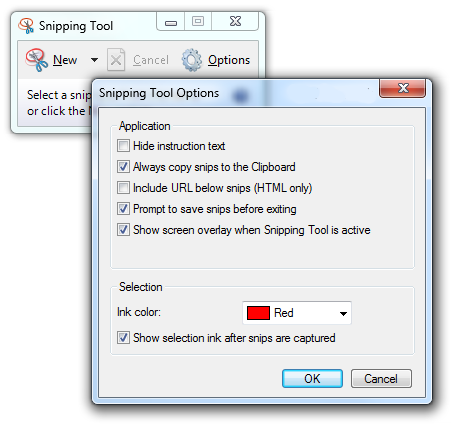
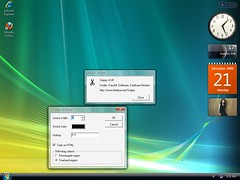
If you want to install Windows Vista's Snipping Tool for XP you have to install the following before:
● IE 8
If you don't want these things to jumble your computer, install Snippy, a light-weighted snipping tool for windows. This is the best clone of Windows Vista's Snipping Tool and your computer's resources are not much utilized as well.TABLET PC INPUT PANEL
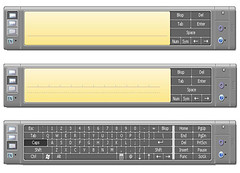
Windows Vista's essential feature Tablet PC Input Panel (TIP) can be run on Windows XP. If you want to install TIP on XP, you have to install the following before:
● Tablet PC Recognizer - Multi Language (80 MB program). Or just install 3 MB program for English (US) users click here.
● Pen Mouse (optional)
WINDOWS JOURNAL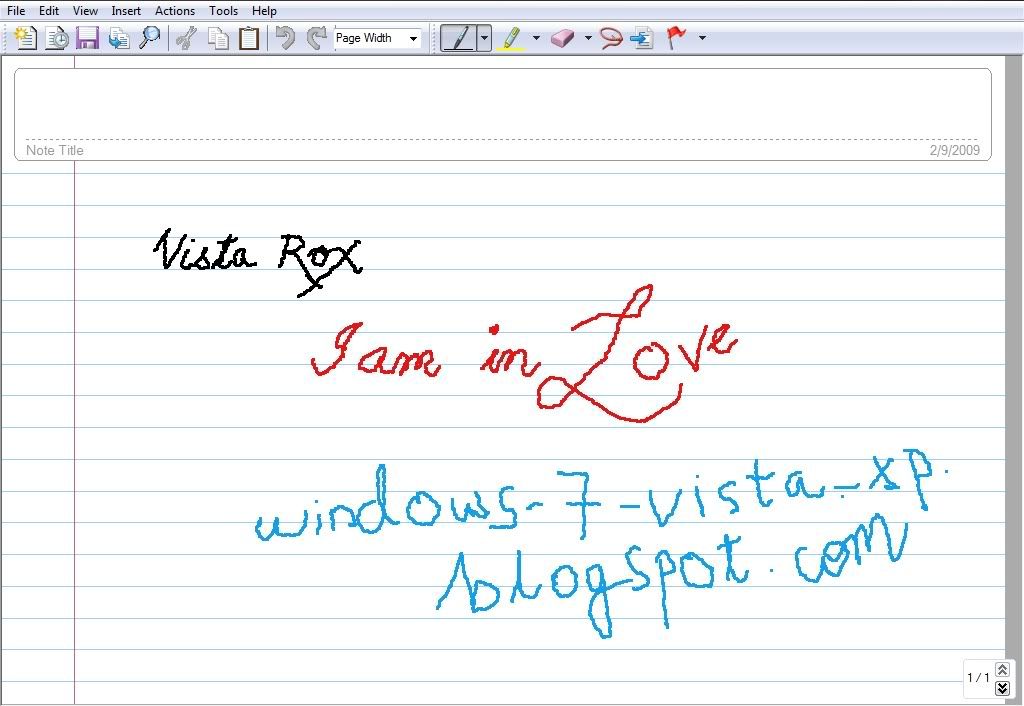
● Tablet PC Recognizer - Multi Language (80 MB program - optional but recommended). Or just install 3 MB program for English (US) users click here.
========================================================================= Part 3
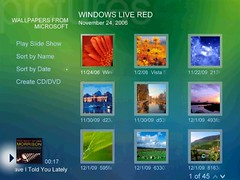
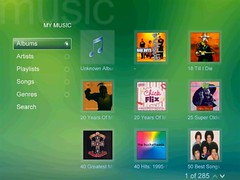
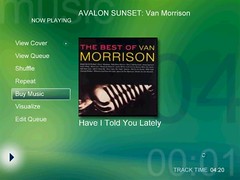
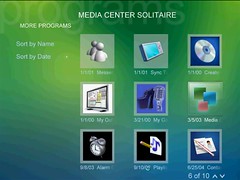
Part 3 of this blog has been fully dedicated to "how to install Windows Media Center on Windows XP Professional Edition". Through Media Center you can access to all of your favorite TV shows; music and videos on your computer and Internet; pictures; radio; news; etc. right on your PC. Windows Media Center is an essential feature of Windows Vista (Premium Editions), Windows XP Media Center Edition 2005 and Windows 7.
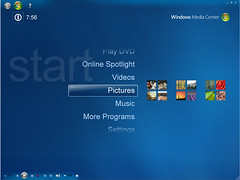
To install Windows Media Center on XP, you will be needed to install the following on your Windows XP:
● Supported DVD/MPEG-2 Decoder for MCE (With DVD-Rom/Writer) and some 3rd party codecs (optional but recommended). You can download and install free K-Lite Mega Codec here.
● Media Center compatible hardware such as DirectX 9 VGA card with latest driver (optional)
● Windows Messenger (now discontinued)
WINDOWS MEDIA CENTER ADD-ONS
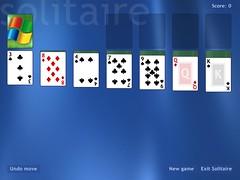
These are some interesting WMC add-ons, i.e., Simply Weather, Contacts, Media Center Customization, Solitaire, etc.
● Simply Weather, Contacts, MC Customization (fixed 15/9/2015)
Part 4
Extra Tools
WINDOWS SEARCH
WINDOWS XP POWER TOYS
Preview Pane
Extra Tools
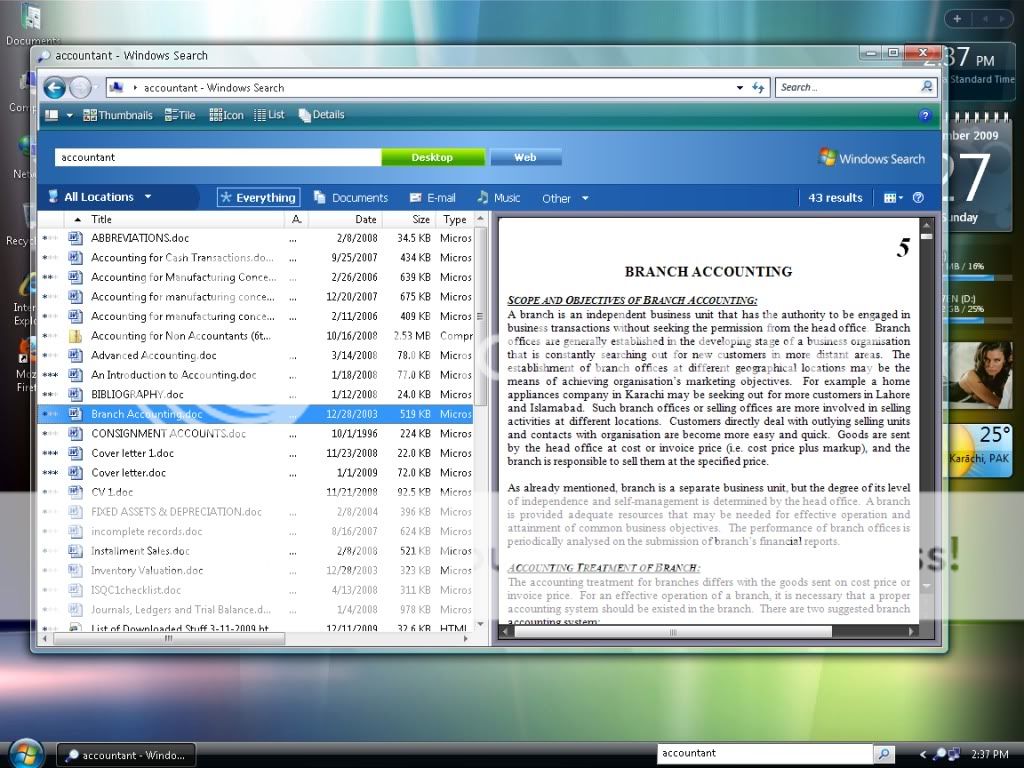
WINDOWS SEARCH

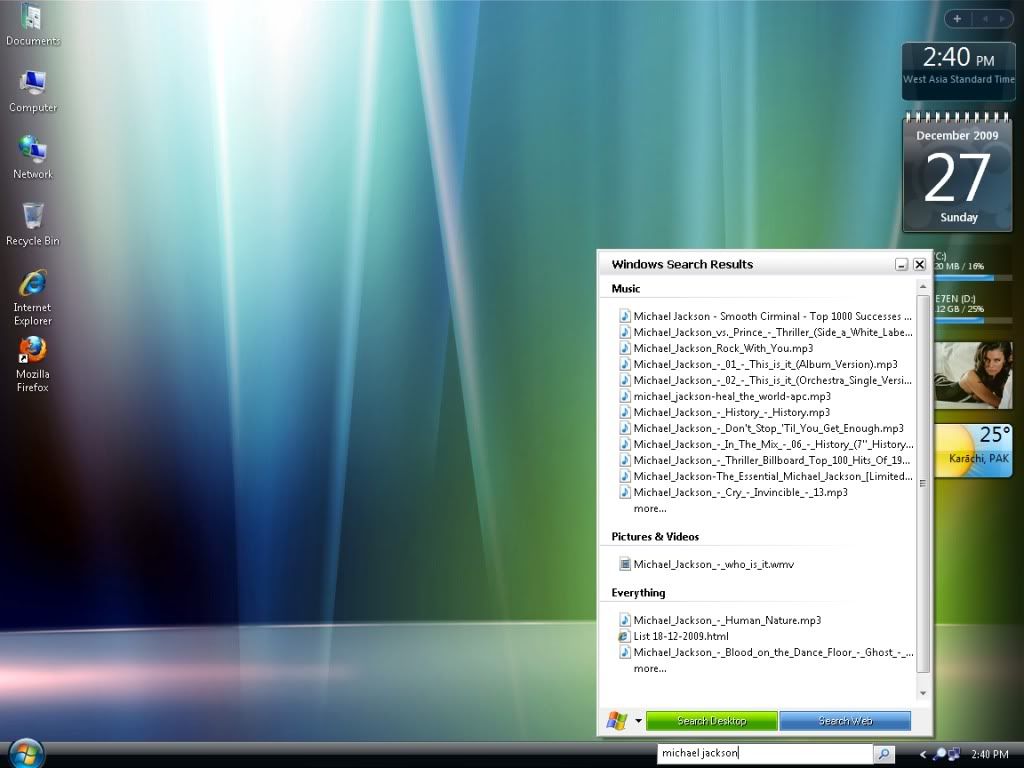
Windows Vista’s integrated searching tool, Windows Search, makes Vista more powerful and easy to use. With Windows Search, you can instantly find documents, emails, websites, etc. on your computer or online. You can even preview the documents without even opening them and can edit their tag information too. This is a ‘must installation’ for Windows Vista lovers.
Download Windows Search 4.0
WINDOWS XP POWER TOYS
Most of the Microsoft’s official PowerToys for Windows XP become the integrated parts of Vista. Some of them are Alt-Tab Replacement, SyncToy, Image Resizer, CD Slide Show Generator, RAW Image Thumbnailer and Viewer, Webcam Timershot, Color Control Panel Applet, ClearType Tuner, and Open Command Window Here.
- Download the Official PowerToys for XP
- Download the Unofficial PowerToys for XP (Do not install all of these PowerToys. Install the program that best suits your need)
- Download the Official PowerToys for Windows Media Player
- Download the Official PowerToys for Windows Media Center
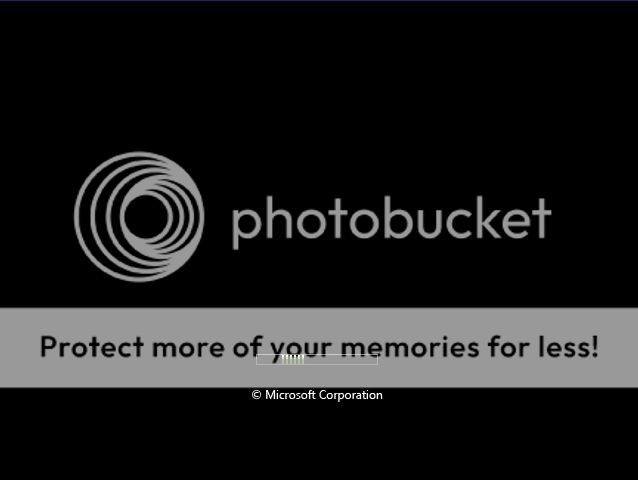
WINDOWS VISTA BOOT SCREEN FOR WINDOWS XP
You can change the old boring Boot Screen of XP to the new and sleek Boot Screen of Vista using the Tuneup Utilities.
- Download Windows Vista Boot Screen for Tuneup Utilities (fixed 15/9/2015)
- Download Tuneup Utilities
Instructions:
- Run Tuneup Utilities;
- Now click on Customize Windows, then click TuneUp Styler. A window of TuneUp Styler will be opened;
- Now click on Boot Screen, then click Add and then click Load Boot Screen from File;
- Now select the downloaded Windows Vista Boot Screen;
- Now click Install Boot Screen button;
- Reboot the computer, you will see the changes.
Alternative Method:
You can install Windows Vista Boot Screen without even installing Tuneup Utilities. But under this method, you have to backup the original Windows XP boot screen, if you want to restore back the original Windows XP boot screen later. First go to “C:\Windows\system32” folder and search for “ntoskrnl.exe”. Now backup this file in a safe place.
- Download Windows Vista Boot Screen (ntoskrnl.exe);
- Download Replacer;
- Now unzip the download folder, inside the folder you will find the file “ntoskrnl.exe”;
- Now run Replacer and replace original XP “ntoskrnl.exe” with the downloaded “ntoskrnl.exe”. You can find the original XP “ntoskrnl.exe” in the folder “C:\Windows\system32”.
If you have any problem in running Replacer, see my video on how to use Replacer to replace original files with replacement files.
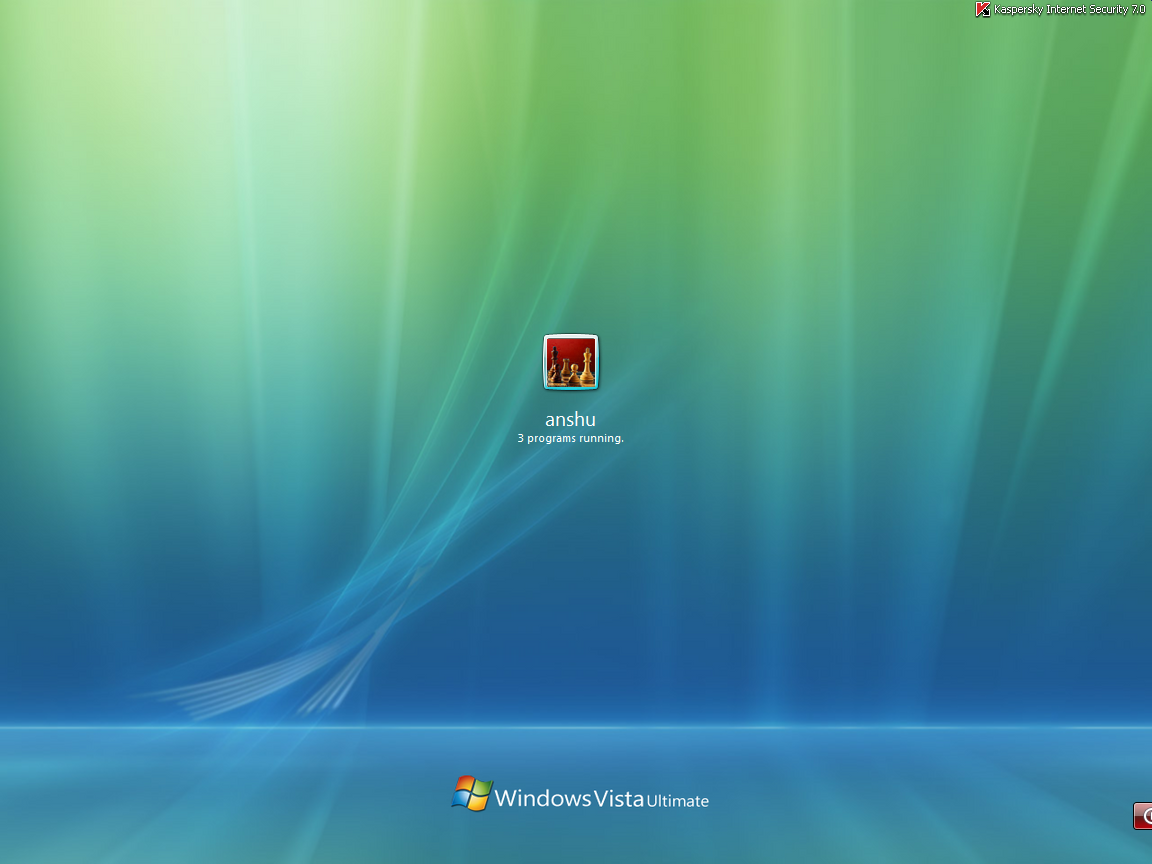
WINDOWS VISTA LOGON SCREEN FOR WINDOWS XP
- Download Windows Vista Logon Screen for Tuneup Utilities
- Download Tuneup Utilities
Instructions
- Run Tuneup Utilities;
- Now click on Customize Windows, then click TuneUp Styler. A window of TuneUp Styler will be opened;
- Now click on Logon Screen, then click Add and then click Load Logon Screen from File;
- Now select the downloaded Windows Vista Logon Screen;
- Now click Install Logon Screen button;
- Reboot the computer, you will see the changes.
Alternative Method:
You can install Windows Vista Logon Screen without even installing Tuneup Utilities. But under this method, you have to backup the original Windows XP logon screen, if you want to restore back the original Windows XP logon screen later. First go to “C:\Windows\system32” folder and search for “logonui.exe”. Now backup this file in a safe place.
- Download Windows Vista Logon Screen (logonui.exe); (fixed 15/9/2015)
- Download Replacer;
- Now unzip the download folder, inside the folder you will find the file “logonui.exe”;
- Now run Replacer and replace original XP “logonui.exe” with the downloaded “logonui.exe”. You can find the original XP “logonui.exe” in the folder “C:\Windows\system32”.
If you have any problem in running Replacer, see my video on how to use Replacer to replace original files with replacement files.
WINDOWS VISTA DRIVE ICONS
In Windows Vista’s Computer folder, all the Hard Drives show graphical indications of the HD usage and free space. It also indicates whether the HD is critically short of space. You can also get this useful and light-weighted feature on Windows XP.
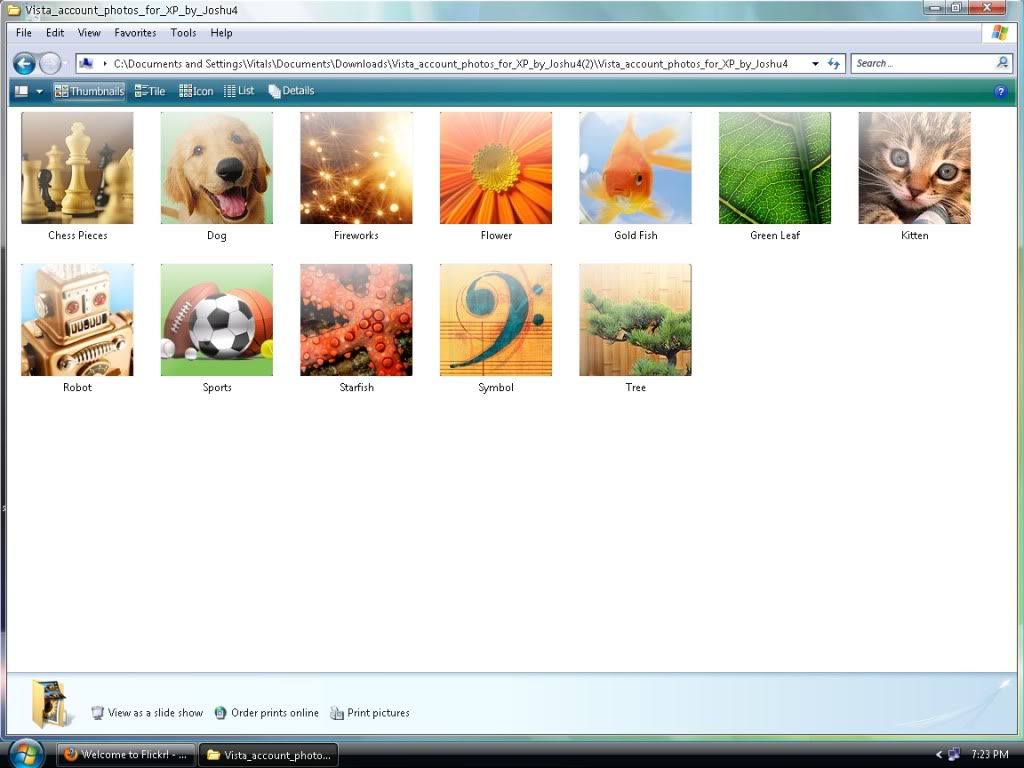
WINDOWS VISTA ACCOUNT PHOTOS
- Unzip the download folder and copy all the images to “C:\Documents and Settings\All Users\Application Data\Microsoft\User Account Pictures\Default Pictures”;
- Now open Control Panel and then open User Accounts;
- Click your account and then click “Change my picture”;
- You will see all Vista Account Photos together with XP Account Photos;
- Select any picture and then click “Change picture”;
- Your User Account Picture has now been changed, click Start Menu, you will notice the change.
WINDOWS VISTA VISUAL EFFECTS
Windows Vista and Windows 7 are the best for their Visual Effects, for e.g., transparent taskbar, transparent start menu, visual taskbar tips, thick windows shadows, windows transition animations, windows opening animations, etc.). Now you can get all these effects on your XP machine, Stardock’s WindowsFX made it possible.
WINDOWS VISTA WALLPAPERS SLIDESHOW
Like Vista, you can change your favorite wallpapers, randomly or sequentially, with regular time intervals on XP.
WINDOWS VISTA DREAMSCENE
The Ultimate Version of Windows Vista includes an extra add-in for making Video Clips as Desktop Wallpaper known as Windows DreamScene. But this Windows add-in heavily consumes your computer resources. Make sure that you have atleast 1GB RAM with atleast 2GHz Intel processor. DesktopFX is a program that adds special effects to your desktop. Unlike Windows DreamScene, it can also add Snow and Fire Effects on your desktop. For more information and download link, click here.
WINDOWS VISTA NOTIFICATIONS BALOONS
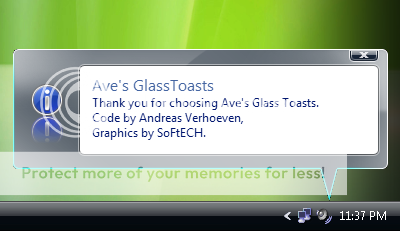
Although this feature is not the part of Windows Vista, but this is a cool add-on for your XP/Vista machine. It replaces the ‘ugly’ XP/Vista style balloon notifications with the glassy toasts. With this application the balloons in Vista will also have an aero glass look.
Enhancements for XP’s Windows Explorer to make it look like that of Vista's
Preview Pane
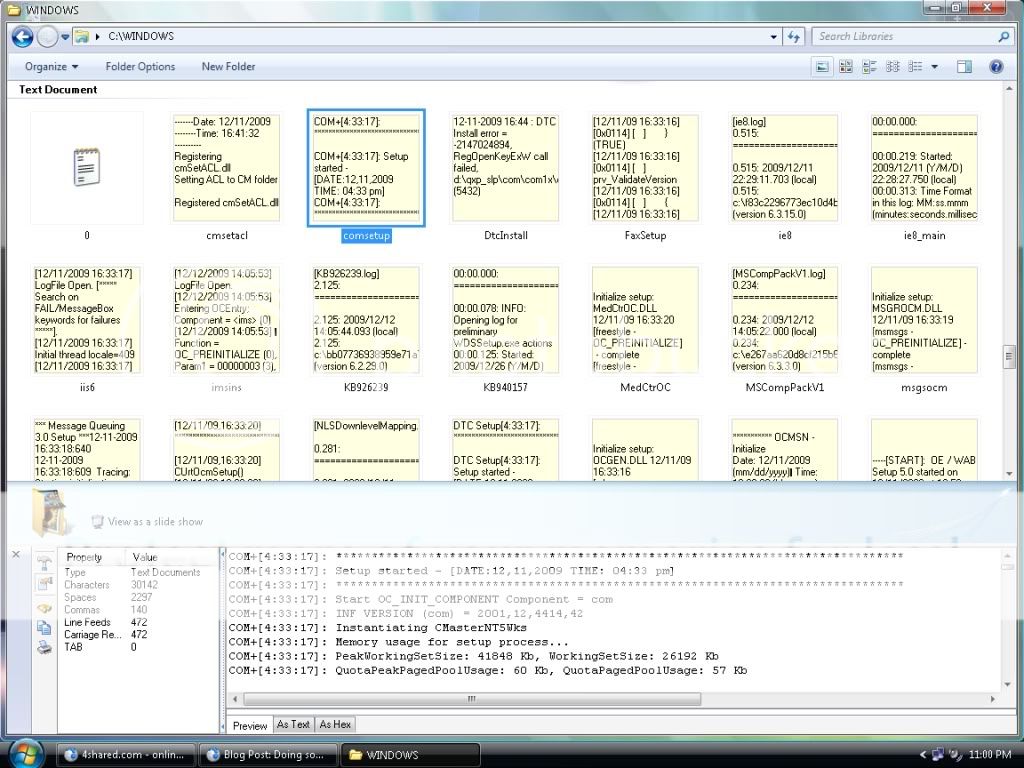
Preview Pane previews any document, picture, video clip, audio file, text file and compressed binaries, without opening them, at the lower panel of Windows Explorer. It is quite similar to that of Windows Vista.
Thumbnails
Images
Windows Vista has an integrated feature of enabling thumbnails of more image formats than XP. ImageXtender has enabled the XP users to view more than 200 image formats including some really old ones or rare ones in Windows Explorer, and Windows FAX and Picture Viewer. It even enables thumbnails of PDF files. Download ImageXtender.
Video Clips
Windows Vista has an integrated feature of enabling thumbnails of most video formats, e.g., AVI, MPEG, DAT, MP4, etc. You can also enable thumbnails of these video clips (including FLV) on XP. Download K-Lite Codec Pack Full Version and during installation select “Make thumbnail generation possible for the following file types:”.
Text Files
Windows Vista has an integrated feature of enabling thumbnails of text files. You can also do this on XP. Download link. The compressed folder also contains the instructions on how to install / enable text files thumbnails on XP.
Portable Document Format (PDF) Files
Download Adobe Reader. With the latest version of Adobe Reader, you will be enabled to see the thumbnails of PDF files in Windows Explorer.
Fonts
Thumbnail Resizer
Like Windows Vista, you can also enable Thumbnail Resize under Windows XP.
Download Tweak UI for resizing thumbnails in explorer
Multimedia Tag Editor
You can edit Meta Data and Album Art contained in an audio / music file (MP3, WMV, etc.) on Windows XP within one or two clicks. Download link. All instructions are included in the compressed folder.
DISCLAIMER:
Since some application files might have been "patched" or "compressed" (packed) to work properly on your XP system, therefore, some "false alarm" or "false positive" may happen to some clean *.exe installers/applications /installation processes, although they are actually CLEAN & SAFE and does not pose a threat to your system. The term "false positive" is used when an Anti-Virus Software wrongly classifies an innocuous (inoffensive) file as a Virus. This incorrect detection may be due to heuristics or to an incorrect virus signature in the database of Anti-Virus. Usually some great and famous Anti-Viruses (such as Kaspersky, AVG, Norman, McAfee, etc) won't have such problem so far. If that happens to you, then simply ignore it and continue installing as it's guaranteed actually 100% safe and clean by me and other guys who are posting these applications. But again, it's still your own choice and right to decide.
Related Articles:
